DIY FIRE PIT
The shift in the weather is here (HIP HIP HOORAY) & I can’t think of a better time to have finished our DIY fire pit! Don’t get me wrong, I love summer and all the warmth and fun that it brings, but I find so much joy in the upcoming seasons that I crave it all year long. As I have shared with you all before, my family owns quite bit of land where I love to spend a lot of my time. My parents have talked about putting in a fire pit for a few years now, but this year I made the vision come to life.
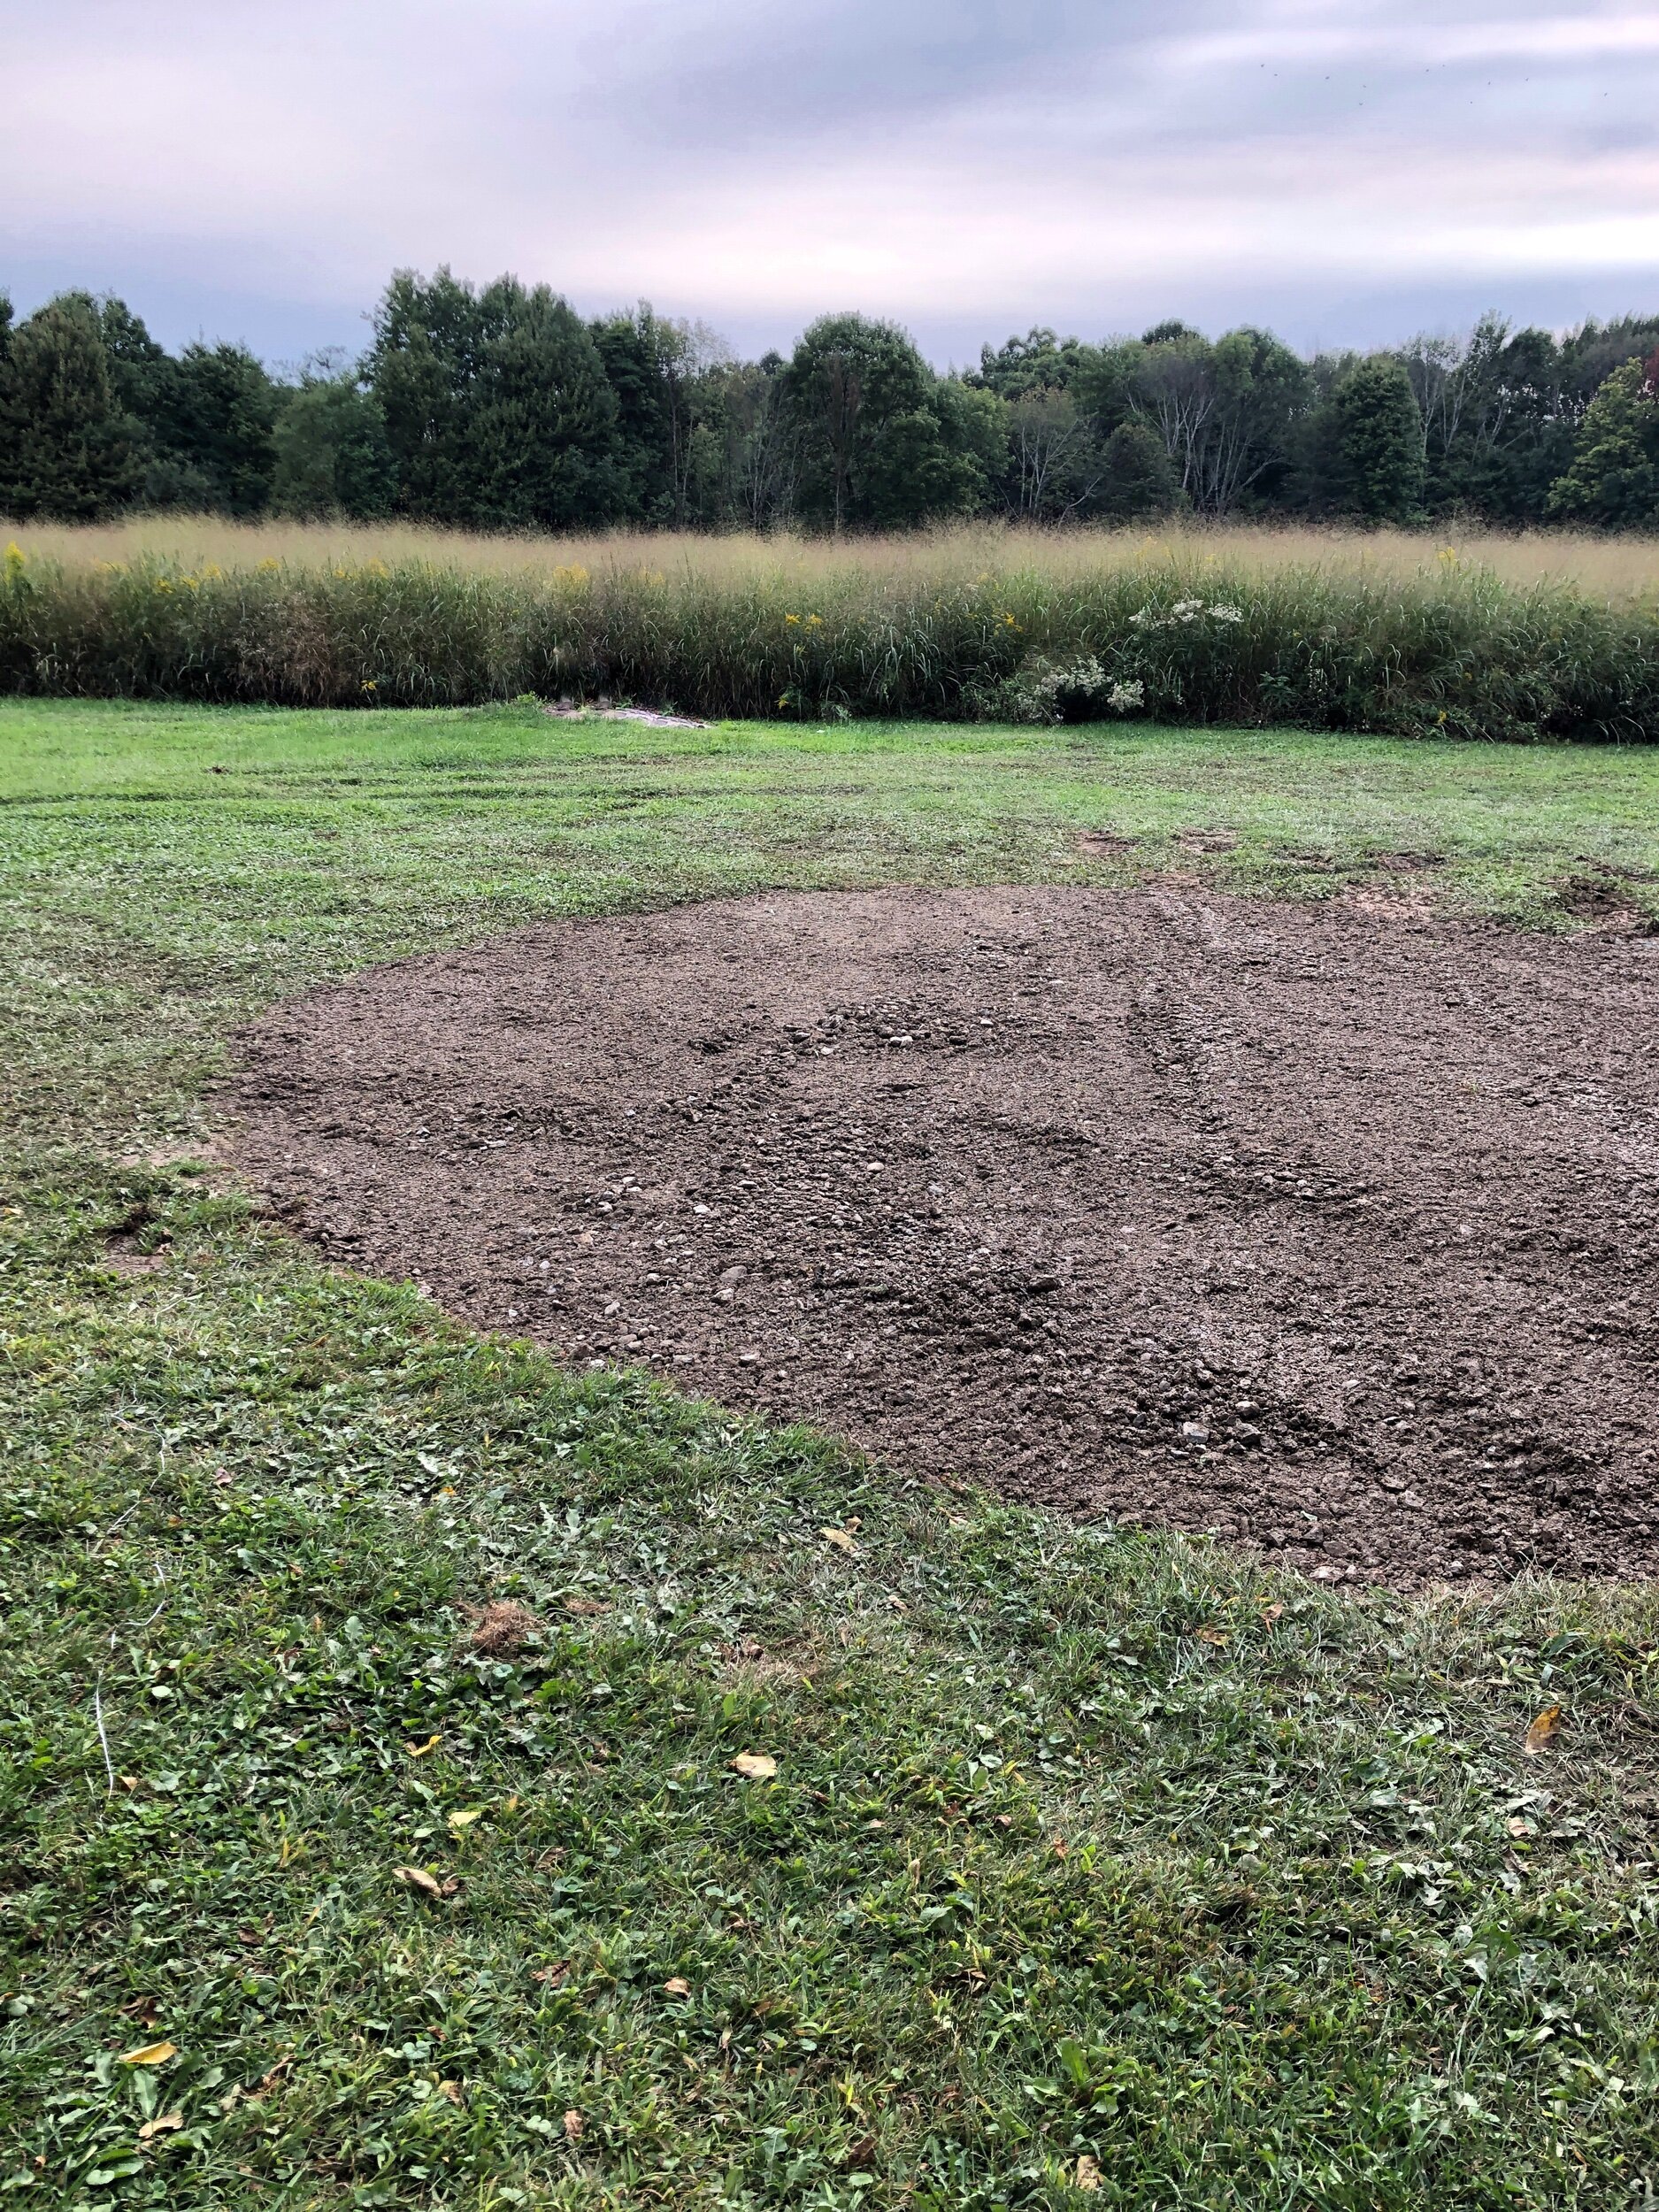
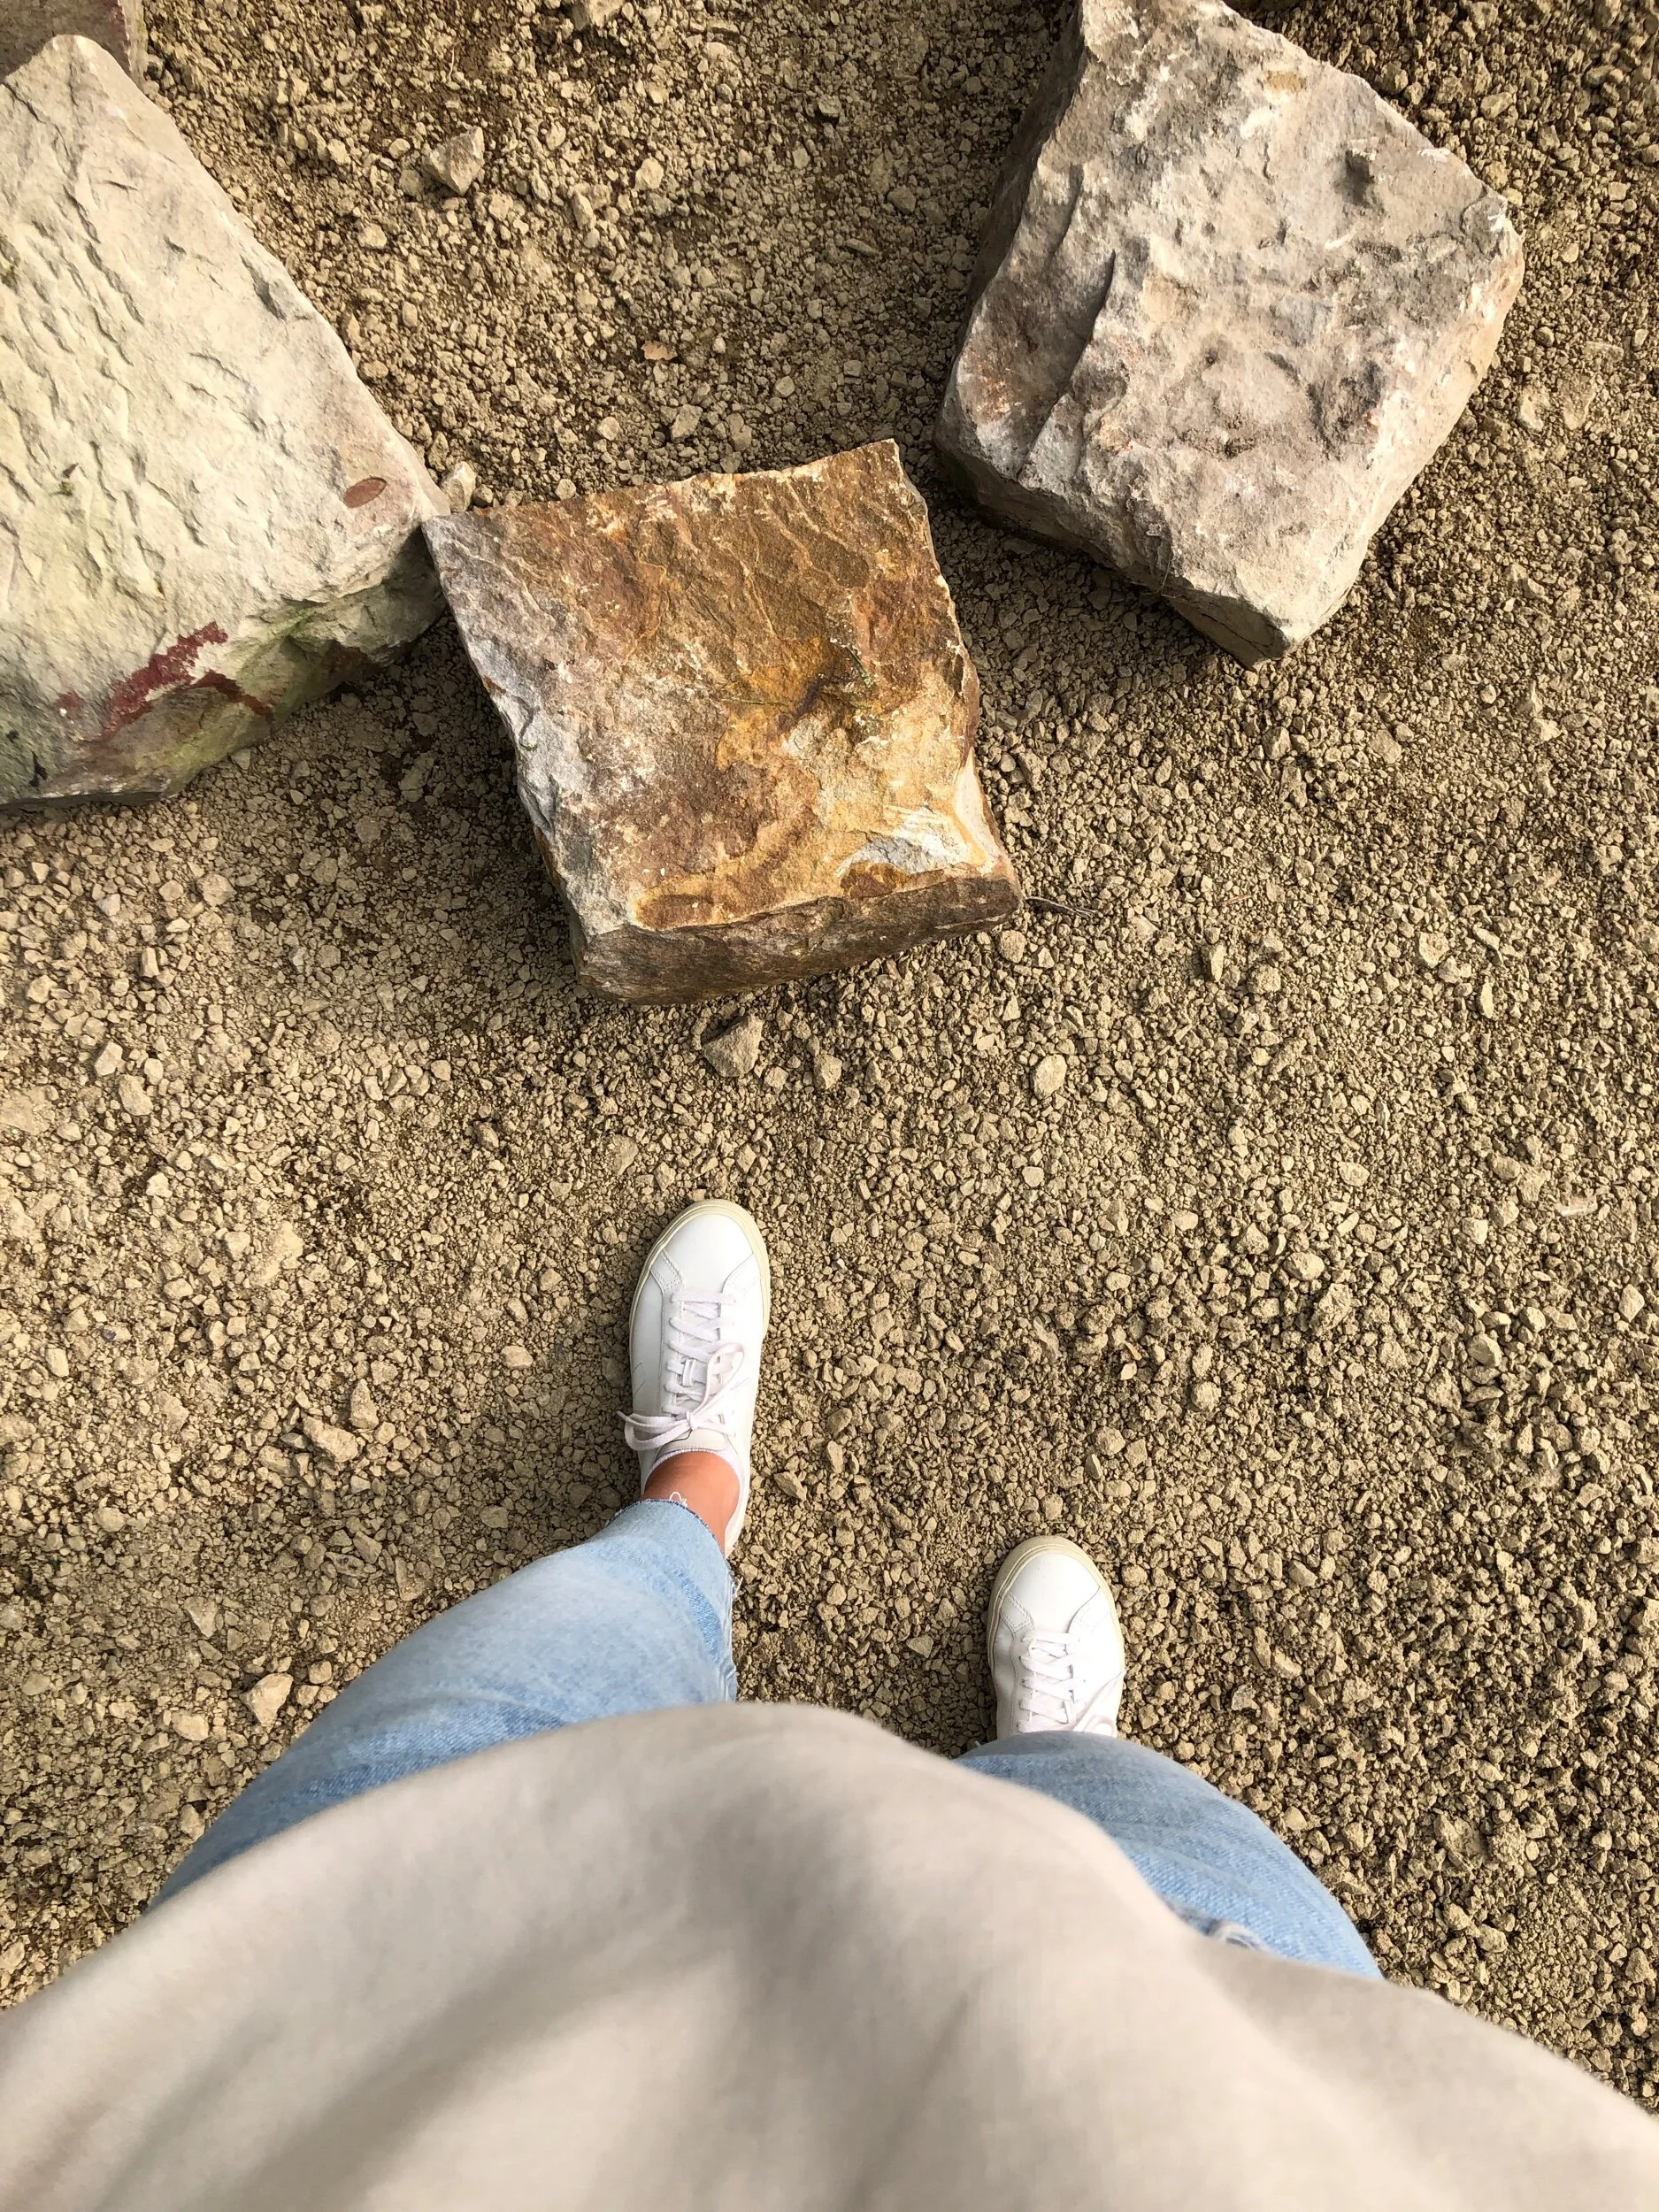
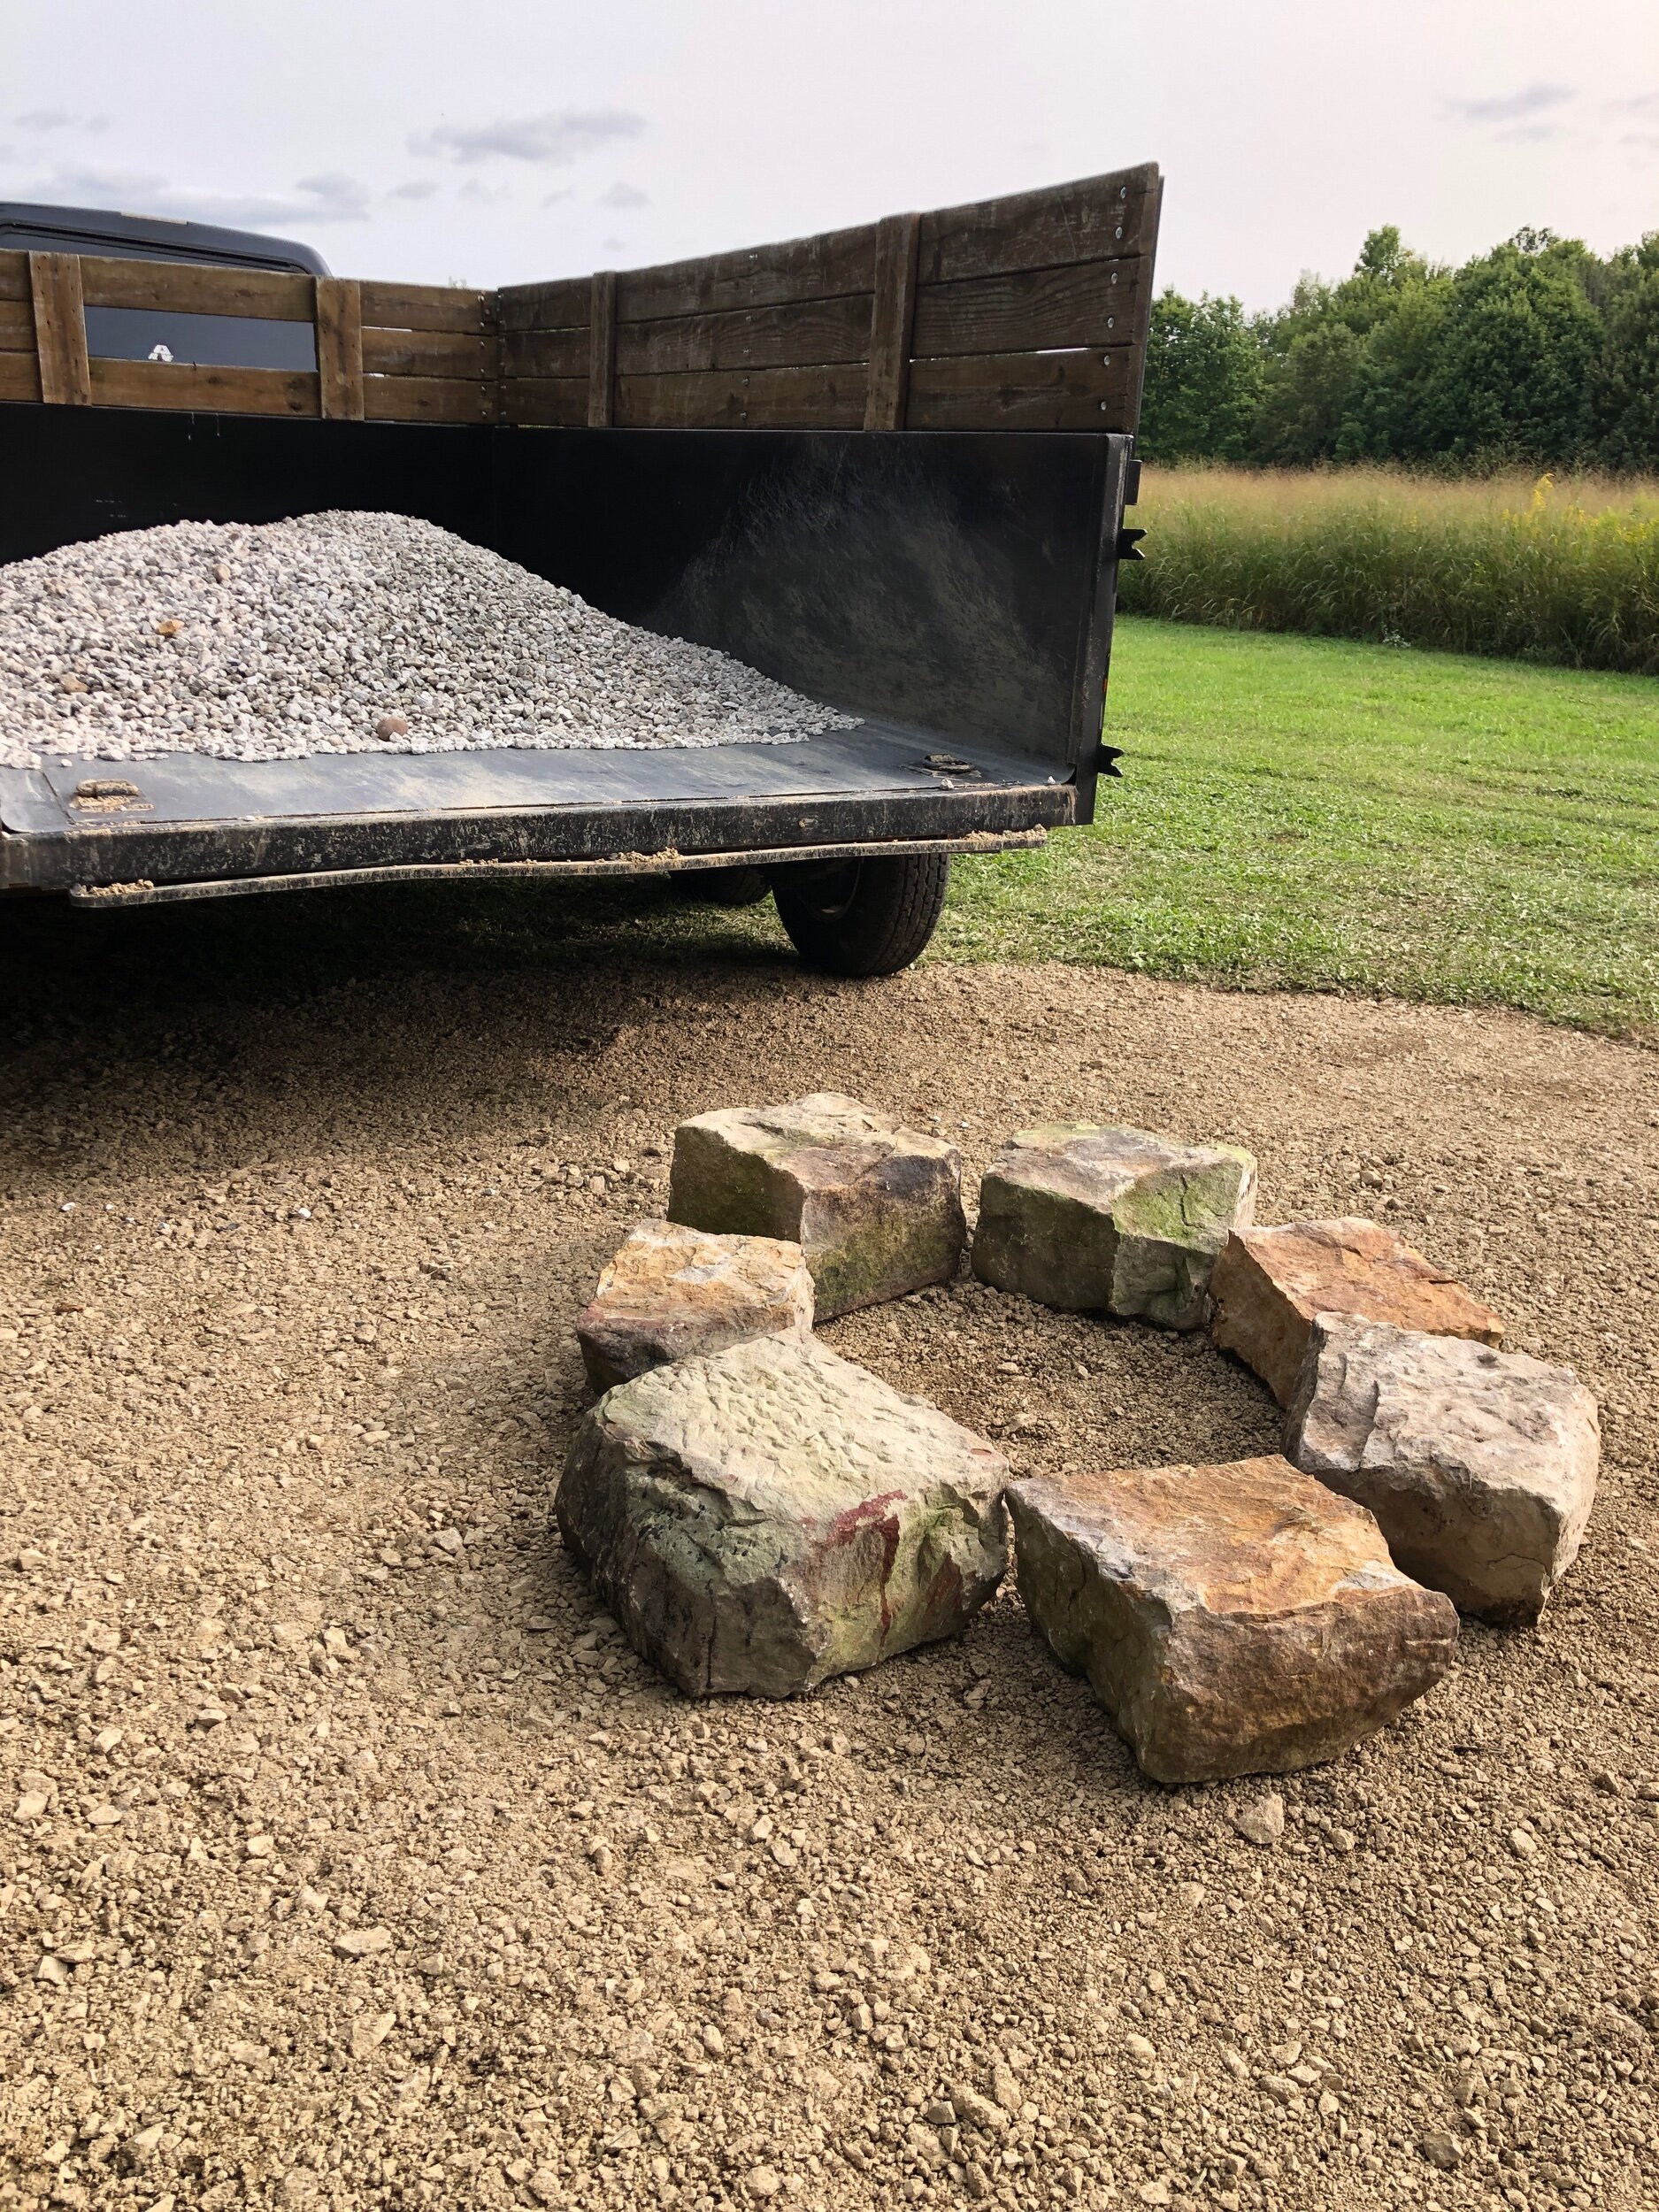
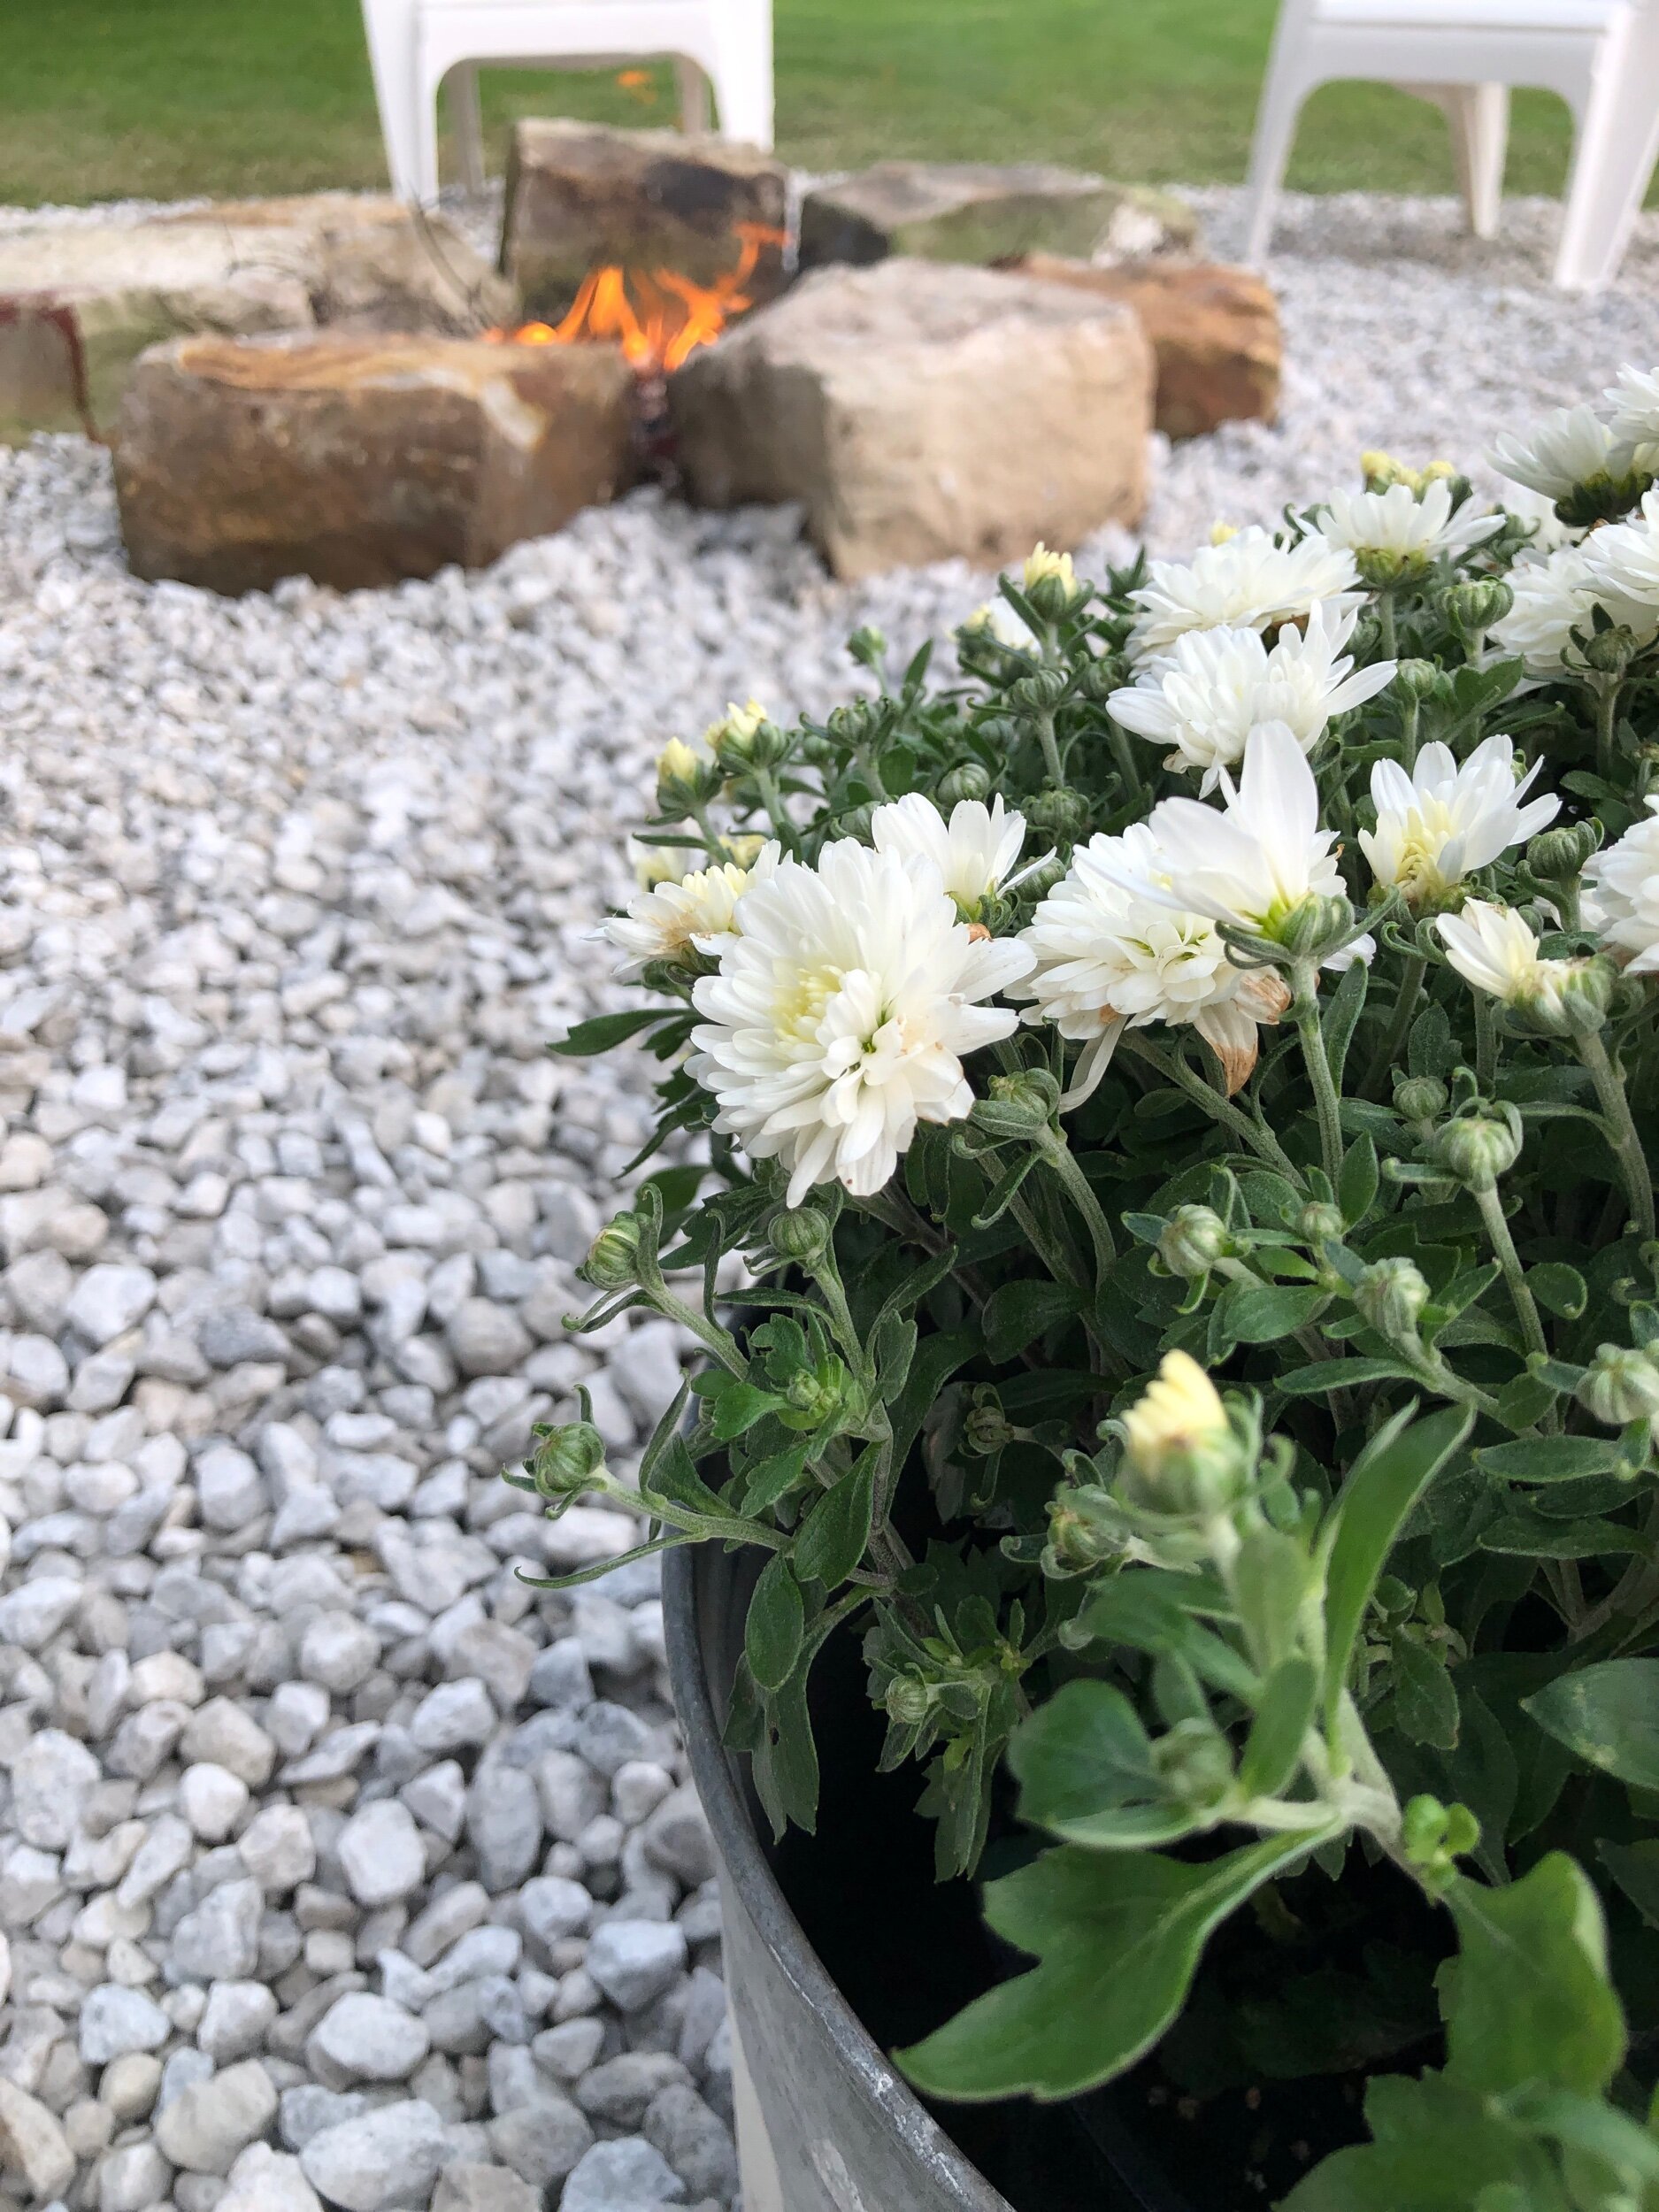
To get started, I picked a spot in the yard where an existing fire pit had been and we mapped out the size (about 16 ft in diameter). We then utilized some machinery to dig it out, lined the bottom with filter fabric to block weeds, and filled it with basic stone blend of limestone. This isn’t something you have to do, you could fill the entire pit with the stone you are placing on top. We were lucky to have some available to us so we used it to minimize waste and cost! Once the ‘base’ was completed we picked out some stone at a local stone yard (light gray limestone) and we covered the top!
I really don’t think that there is a right or wrong way to do this DIY. I think if you want to put a fire pit in you should use what you have available to you and make it work! Between the stones and Adirondack chairs we purchased, the total came to under $200. It took a total of two days to complete this cozy spot where lots of fun memories will be made.